10 Essential Steps for a Smooth New Computer Setup

TL;DR: Setting up a new PC involves 10 key steps for a smooth experience: 1) Carefully unpack and check components; 2) Choose a well-ventilated location with good cable management; 3) Connect hardware components like monitor, keyboard, and mouse; 4) Power up the system and ensure it starts correctly; 5) Install the operating system from a bootable USB or DVD; 6) Update the OS for security patches; 7) Install essential software such as browsers and antivirus; 8) Configure system settings and optimize power usage; 9) Backup data using cloud storage or external drives; 10) Familiarize yourself with system features and shortcuts. For additional help, Geeks2You in Phoenix and Tucson offers expert IT and computer repair services.
There is no denying it: we need computers for almost everything. We use them every day for work, education, and entertainment. The latest statistics show that people use their PCs for around 5.63 years. Still, more powerful and faster components hit the market every day, and that’s always a good excuse to upgrade your existing rig or buy a new setup.
For most PC enthusiasts, there is nothing like setting up a new computer. However, there’s more to a good PC setup than taking the tower out of the box and plugging it in. A well-organized setup involves ideal placement, optimal settings, necessary software installations, and more.
Knowing what to do can make the process smoother and more enjoyable for those who prefer a hands-on approach. This guide will provide 10 essential steps for a smooth new computer setup, covering everything from physical placement to system backups. Let’s break down how to make your computer setup seamless and fast.
Table of Contents
Toggle1. Unpack Your Computer Carefully
Carefully unpacking your new computer is the first step in your setup journey. It sounds obvious, but many people get overly excited about getting a new PC. They accidentally damage or lose something during their haste to open everything up. What you need to do is:
- Check for Included Components: Carefully open the box and remove each item individually. Once everything is laid out, confirm that all components are present, including the monitor, keyboard, mouse, power cables, and other accessories.
- Inspect for Damage: As you unpack, check each component for any physical damage that may have occurred during shipping. Look for scratches, dents, or any signs of malfunction. If a component is missing or faulty, immediately contact the retailer or manufacturer.
2. Choose the Right Location
You should place the PC somewhere convenient while considering comfort and practicality. Start by selecting a spot with plenty of access to power outlets. When you’re picking the perfect location, try to:
- Ensure Adequate Ventilation: Computers generate heat, so place your setup in an area with enough airflow. Avoid cramped spaces like closets, cabinets, or other locations where there isn’t enough space for proper heat dissipation, preventing overheating.
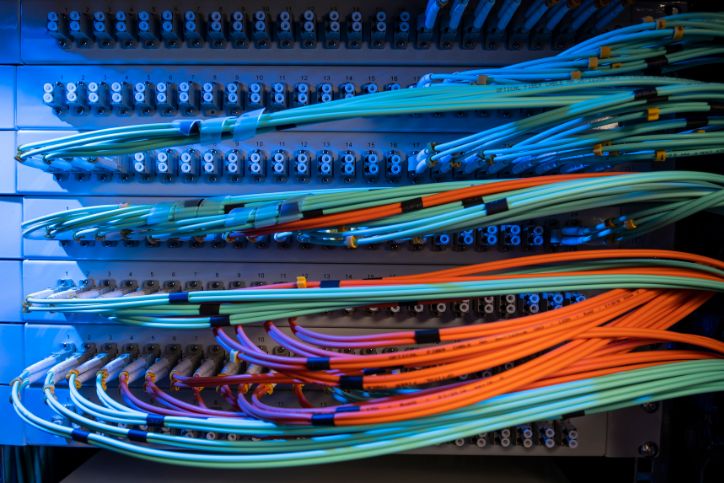
- Plan for Cable Management: Use cable ties or clips to organize your cords and reduce clutter. Designate a specific area for power strips and other connections to keep everything neat and accessible.
3. Connect Hardware Components
Start your setup by connecting the monitor to the computer. Use the appropriate cable, whether HDMI, DisplayPort, or VGA. Next, plug in the keyboard and mouse. If you have a wired setup, connect them to the USB ports. For wireless devices, insert the USB receiver into a port, power up, and sync the devices.
4. Power Up the System
Ensure the cables have a good connection with the computer and the power outlet and that everything is switched on. Now, locate the power button on your computer case, usually at the front or top, and press it.
If the computer doesn’t power up, double-check the connections. If the system powers on but you see nothing on the screen, verify that the monitor is connected to the computer properly. For persistent problems, refer to the user manual for troubleshooting solutions or seek assistance on the manufacturer’s website.
5. Install the Operating System
To kick off your computer setup, install the operating system of your choice. You’ll need a bootable USB or DVD with the OS installation files. Next:
- Insert it into your computer and restart it.
- Access the BIOS or UEFI during startup. You would usually need to use the F2, F10, or Delete button.
- Adjust the boot order to load your installation media first.
- Save the changes and reboot.
- Follow the prompts that appear on the screen.
- Choose the appropriate language, time, and keyboard settings.
When you reach the partition selection screen, pick the drive where you want to install the OS and format it if necessary. After installing the OS, you can create user profiles and accounts. For added security, password protect your account and enable features like parental controls.
6. Update the Operating System
Updates ensure that your computer has all essential security patches and bug fixes that can protect it from vulnerabilities. You can check for updates in the computer’s system settings.
- For Windows, navigate to Settings > Update & Security > Windows Update. Click “Check for updates” and install them.
- For macOS, go to System Preferences > Software Update and proceed from there.
After installing updates, configure your system to check for them automatically. This setup means you always run the latest version without remembering to check yourself.
7. Install Essential Software
Start by installing essential software that covers your everyday needs. First, choose a reliable web browser and install an office suite. Protect your device from potential dangers by adding antivirus software. Here’s how to install these applications:
- Visit the software’s website.
- Download the software version that fits your system.
- Double-click the downloaded file to open it.
- Proceed through the installation steps.
- Once installed, open each application to see if it works correctly.
8. Configure System Settings
You can also adjust location services, app permissions, and data sharing in the settings menu. Tailor these settings to fit your comfort level while maintaining the necessary functionality. Next, optimize power usage.
Adjust power settings to a plan that optimizes system performance and energy consumption. Enable sleep mode and screen timeout to conserve power during idle time. Also, locate and deactivate any extra applications running in the background that could drain system power.
9. Backup Your Data
To secure your data, consider using cloud storage or external hard drives. Cloud storage is simple and fast to access from any device, while external hard drives provide a tangible backup solution.
To set up routine backups, first choose your preferred method. If you opt for cloud storage, install the relevant application and follow the setup instructions to upload your files. You can also plug in an external hard drive and configure your operating system’s backup settings. Use File History on Windows and Time Machine on macOS.
10. Familiarize Yourself with the System
Explore the built-in features of your preferred OS. Check out the settings menu, control panel, or system preferences, depending on your OS. These areas contain customization options you can adjust to your needs, from display settings to security preferences.
Next, learn some common keyboard shortcuts to save time. For example, shortcuts like Ctrl+C for copy and Ctrl+V for paste can significantly improve your productivity.
Don’t worry; the task manager or activity monitor is not as complex as it sounds. These easy-to-use tools will help you efficiently manage running programs and track system performance.
Get Expert IT and Computer Repair Advice
Setting up a new PC can be a rewarding experience if you follow our 10 essential steps. However, straying from the setup process can lead to complications that require a professional’s touch. When you need additional assistance or advice about your PC, Geeks2You can assist with your PC needs in Phoenix and Tucson.
We can handle installation, troubleshooting, or repairs for Mac or Windows. Our experienced technicians can help you get the most out of your devices without the hassle of technical issues. Contact us today for a seamless computer experience!
Instant Quote
Get A FREE Quote IMMEDIATELY
Other Blogs You May Be Interested In
Categories
Satisfaction Guaranteed
Computer Repair You Can Trust


